
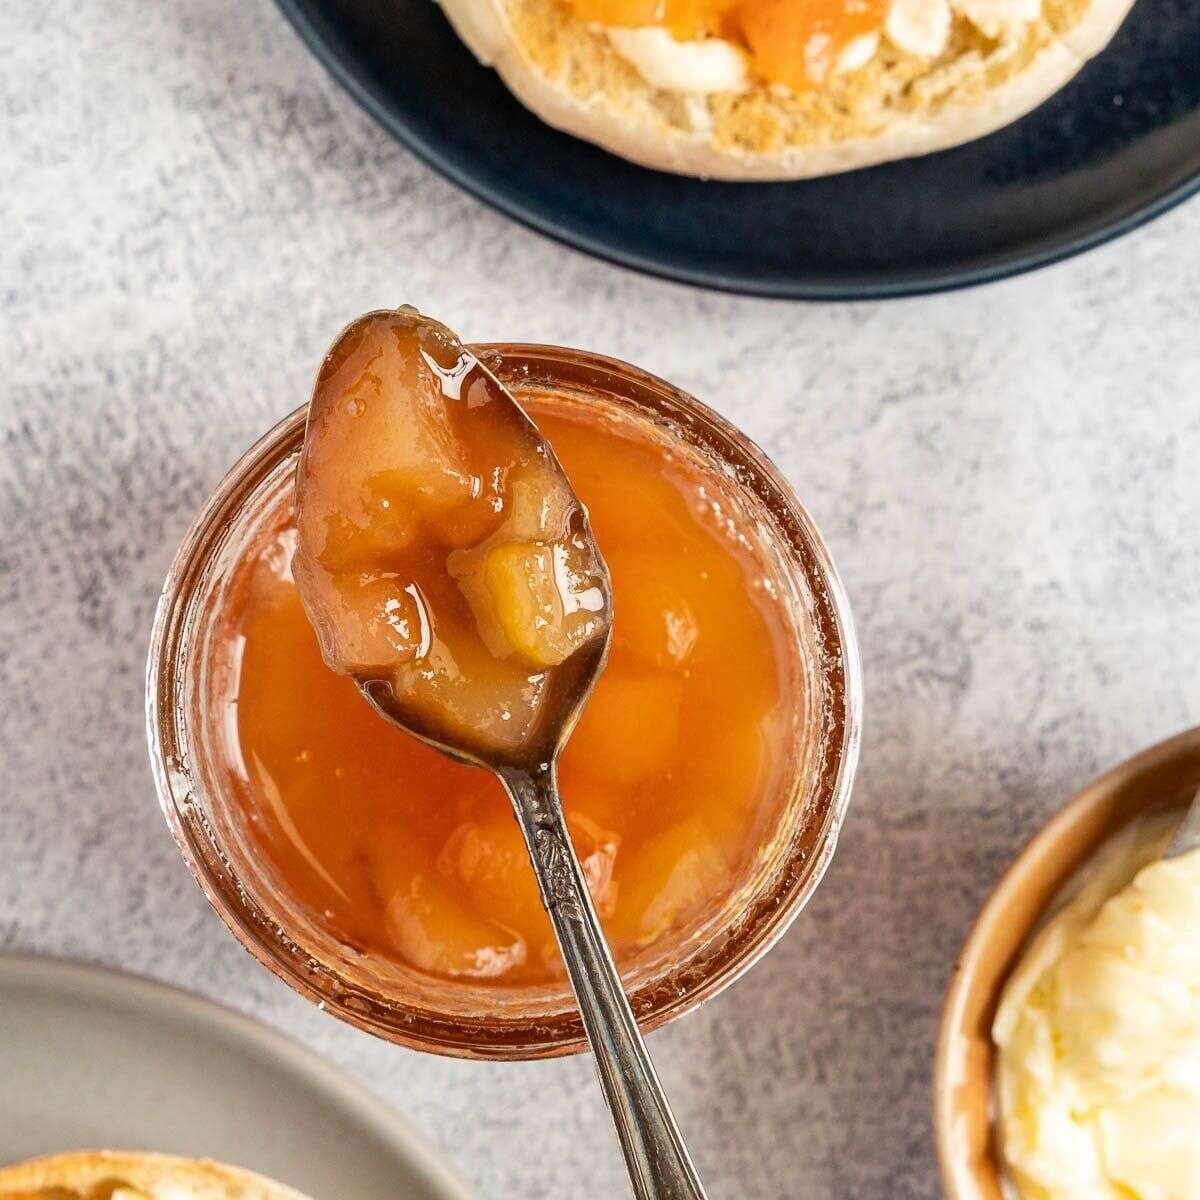
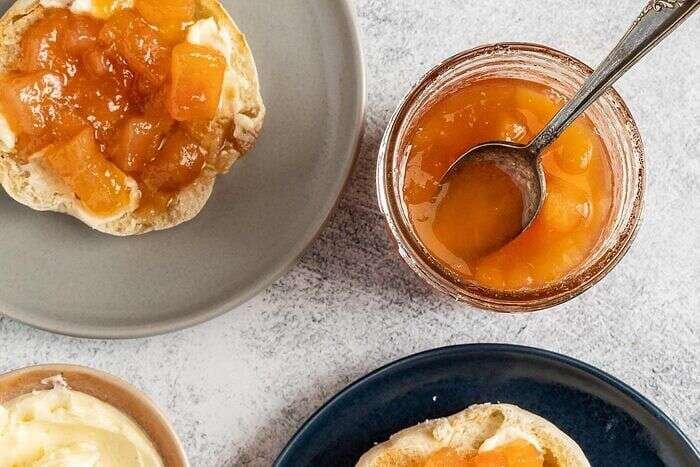
I love making pear preserves when fresh pears are plentiful and I want to turn them into something I can enjoy beyond the fruit bowl. These preserves have a glossy texture with tender pieces of pear, and I especially enjoy them spooned over pancakes, stirred into plain yogurt, or spread into a savory sandwich.
What I like most about this pear preserves recipe is its straightforward ingredient list and slow-cooking method. The fruit, sugar, water, and lemon juice gradually become a thick, spreadable preserve without added pectin. When I want a smaller-batch option, I can also refrigerate or freeze the finished preserves instead of processing them for shelf storage.
Why I Love These Pear Preserves
I find pear preserves especially useful when I have more ripe pears than I can eat fresh. Unlike a smooth jelly, these preserves keep noticeable pieces of fruit, so every spoonful has a soft pear texture. I also like how versatile they are: I can serve them at breakfast, use them as a sweet accent with a sandwich, or keep a jar ready for an easy homemade treat.
Ingredients for Pear Preserves
| Ingredient | Amount |
|---|---|
| Fresh pears, peeled and sliced | 16 cups (about 16 medium) |
| Sugar | 4 cups |
| Water | 2 cups |
| Lemon juice | 3 tablespoons |
What I Look For in the Pears
I can use different pear varieties here. Bartlett, Anjou, and Comice pears contain more moisture and tend to soften more during cooking, while Bosc pears generally hold their shape better. I choose the variety based on whether I want softer pieces or more distinct pear chunks in the finished preserves.
A Note About the Sugar and Lemon Juice
I keep the ingredient amounts in this recipe unchanged when I plan to can the preserves. The sugar contributes sweetness and helps create the syrupy preserve, while the lemon juice adds brightness and acidity. If I am preparing the preserves specifically for canning, I do not casually alter the recipe’s formulation.
How I Make Pear Preserves
Step 1: Cook the Pear Preserves
Kristina Vänni for Taste of Home
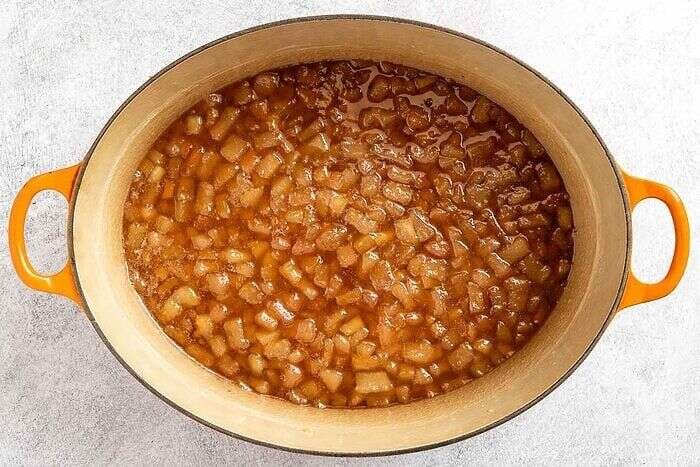
In a stockpot, combine the pears, sugar, water and lemon juice, then bring them to a boil. Cook, uncovered, for 1 hour and 30 minutes to 2 hours, or until the mixture reaches a thick, spreadable consistency.
Step 2: Ladle the Preserves into Jars
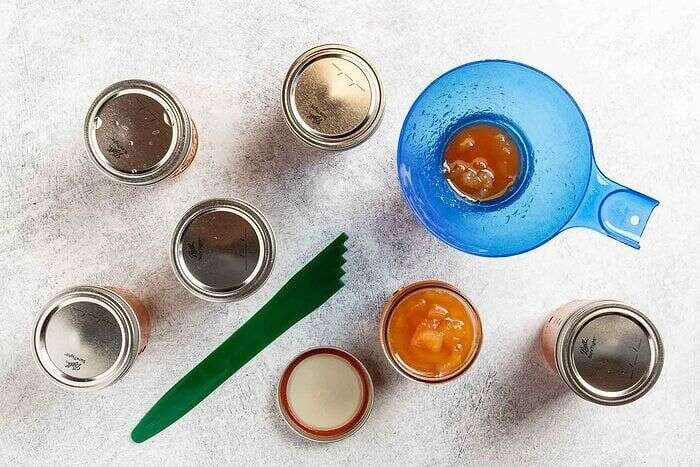
Remove the pot from the heat. Ladle the hot mixture into seven hot 1/2-pint jars, leaving 1/4 inch of headspace. Remove the air bubbles and adjust the headspace, if necessary, by adding more hot mixture. Wipe the rims, then center the lids on the jars, and screw on the bands until they’re fingertip tight.
Step 3: Process the Jars in a Water Canner
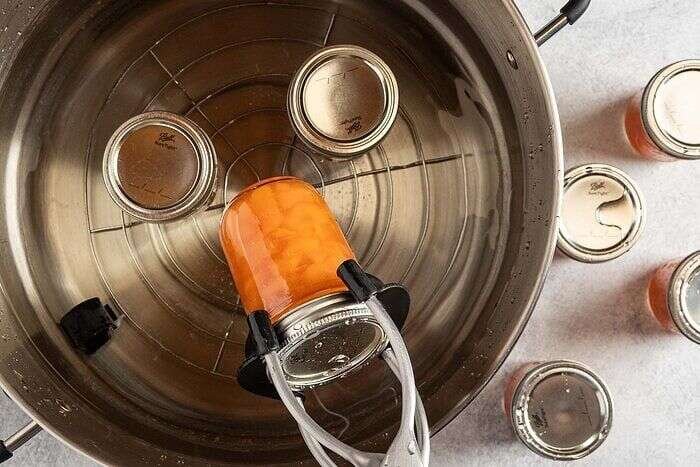
Place the jars into the canner, ensuring that they’re completely covered with water. Bring the water to a boil, then process for 10 minutes. Remove the jars and let them cool.
Pear Preserves Variations I Like
- Vanilla: I can add a splash of vanilla extract or seeds scraped from a vanilla bean for a warmer flavor.
- Warm spices: I like using a whole cinnamon stick, star anise pod, or whole allspice berries while the pears cook. Whole spices give me their flavor without changing the color as much as ground spices can.
- Ginger: Pear and ginger work beautifully together. I can add whole slices of fresh ginger while the fruit cooks, then remove them before canning or place a slice in each jar.
How I Store Pear Preserves
After the jars cool completely, I check that each lid has formed a seal. I remove the canning rings, label and date the jars, and store them away from sunlight in a closed cabinet. I prefer storing sealed jars without the rings so I can more easily notice a failed seal later.
Can I Freeze Pear Preserves?
Yes. When I do not want to can the preserves, I let them cool and transfer them to freezer-safe containers, leaving 1/2 inch of headspace. I label and date the containers and freeze the preserves for up to a year.
How Long Do Pear Preserves Last?
For the best color and clarity, I prefer to enjoy canned preserves within a year. The original guidance notes that properly sealed canned preserves can remain good for up to two years, but I always check the seal and condition of a jar before using it.
My Best Pear Preserves Tips
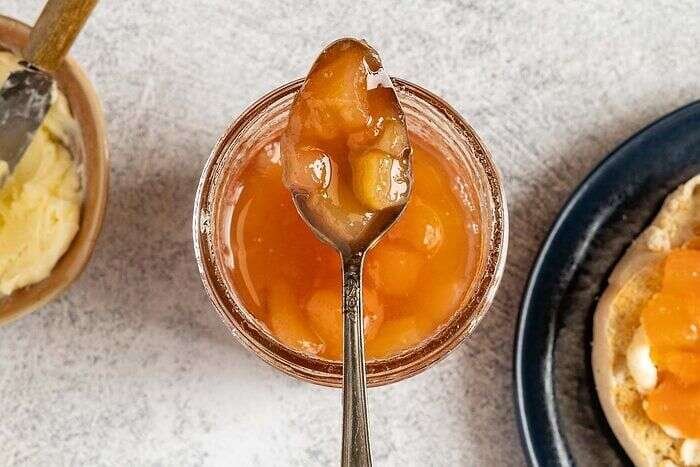
- I watch the mixture closely near the end of cooking so I can judge the thick, spreadable consistency without letting it scorch.
- I use the same ingredient quantities when I plan to can the recipe rather than making untested substitutions.
- I make sure the jars are properly sealed and clearly labeled with the date before putting them away.
- For a smaller batch that I plan to refrigerate or freeze, I can halve the recipe and watch the cooking time because a smaller amount may thicken sooner.
Frequently Asked Questions About Pear Preserves
Can I reduce the sugar or use another sweetener?
If I am planning to can these pear preserves, I do not reduce the sugar or replace it with another sweetener because changing the formulation can affect the canning process. If I am making a batch specifically for refrigeration or freezing, I have more flexibility to adjust sweetness to taste.
Do I need bottled lemon juice?
The original recipe uses lemon juice as part of its formulation. When I am following the recipe for canning, I keep the stated ingredient and quantity rather than changing the acid source on my own.
Can I halve this pear preserves recipe?
Yes. I can cut the quantities in half for a smaller batch. Because a smaller quantity in the pot may cook more quickly, I watch it carefully and look for the same thick, spreadable consistency.
Recipe Ingredients
| Ingredient | Amount |
|---|---|
| Pears | 16 cups peeled, sliced fresh pears (about 16 medium) |
| Sugar | 4 cups |
| Water | 2 cups |
| Lemon juice | 3 tablespoons |
Recipe Directions
- In a stockpot, combine the pears, sugar, water and lemon juice, then bring them to a boil. Cook, uncovered, for 1 hour and 30 minutes to 2 hours, or until the mixture reaches a thick, spreadable consistency.
- Remove the pot from the heat. Ladle the hot mixture into seven hot 1/2-pint jars, leaving 1/4 inch of headspace. Remove the air bubbles and adjust the headspace, if necessary, by adding more hot mixture. Wipe the rims, then center the lids on the jars, and screw on the bands until they’re fingertip tight.
- Place the jars into the canner, ensuring that they’re completely covered with water. Bring the water to a boil, then process for 10 minutes. Remove the jars and let them cool.
Nutrition Information
| Nutrition | Amount |
|---|---|
| Calories | Estimated ~110 kcal |
| Carbohydrates | ~29 g |
| Protein | ~0 g |
| Fat | ~0 g |
| Fiber | ~2 g |
| Sugar | ~25 g |
| Sodium | ~2 mg |
Finally, Conclusion
I keep coming back to these pear preserves because they give me a simple way to enjoy ripe pears in a glossy, spoonable form. I can serve them with breakfast, pair them with savory foods, or preserve them for later. By keeping the recipe’s ingredient amounts and cooking method intact, I can focus on choosing good pears and getting the consistency just right.
