
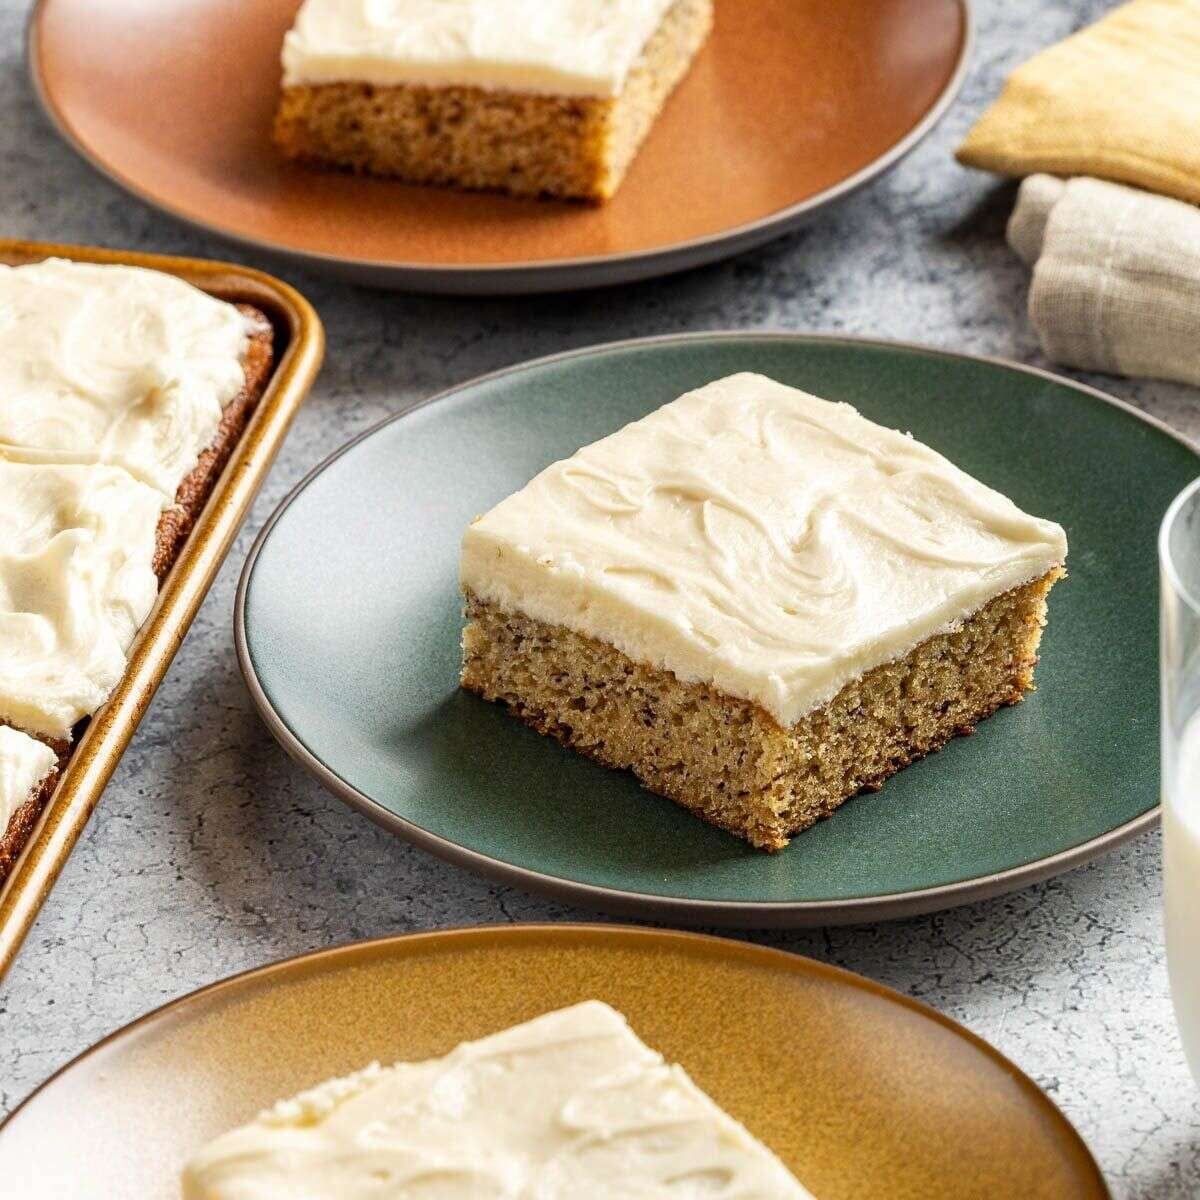
I make these easy banana bars whenever I have ripe bananas ready to use and want a simple homemade dessert. I love how soft and moist the bars turn out, with plenty of natural banana flavor and a smooth cream cheese frosting on top. They are easy enough for a casual family treat but still feel special when I cut them into neat squares for sharing.
What I like most about this banana bars recipe is that I do not need complicated techniques. I cream the butter and sugar, blend in the bananas and vanilla, gently mix in the dry ingredients, and bake the batter in a shallow pan. Once the bars cool, I spread over the creamy frosting and have a dessert that is soft, sweet, and comforting.
Why I Love These Easy Banana Bars
- I get a soft, moist texture with sweet banana flavor in every bite.
- I can use ripe bananas that might otherwise sit in my fruit bowl.
- I love the contrast between the tender banana bars and tangy cream cheese frosting.
- I can prepare the bars without complicated baking techniques.
- I can change the topping or add nuts when I want a different finish.
What Makes My Banana Bars So Good?
For me, ripe bananas are the key to flavorful banana bars. I prefer bananas with plenty of brown spots because they are naturally sweeter and mash easily. The butter adds richness, while the eggs help create a light texture. I also make sure I do not overmix the batter after adding the flour because I want the finished bars to stay tender.
The cream cheese frosting is my favorite finishing touch. I beat softened cream cheese and butter until fluffy, then add confectioners’ sugar and vanilla until the frosting is smooth. Once the banana bars are completely cool, I spread the frosting over the top so it stays creamy and easy to slice.
Banana Bars Recipe Ingredients
| Ingredient | Amount |
|---|---|
| Butter, softened | 1/2 cup |
| Sugar | 2 cups |
| Large eggs, room temperature | 3 |
| Mashed ripe bananas | 1-1/2 cups (about 3 medium) |
| Vanilla extract | 1 teaspoon |
| All-purpose flour | 2 cups |
| Baking soda | 1 teaspoon |
| Salt | Dash |
| Frosting: Cream cheese, softened | 1 package (8 ounces) |
| Butter, softened | 1/2 cup |
| Confectioners’ sugar | 4 cups |
| Vanilla extract | 2 teaspoons |
How I Make Banana Bars
Step 1: Mix the Wet Ingredients
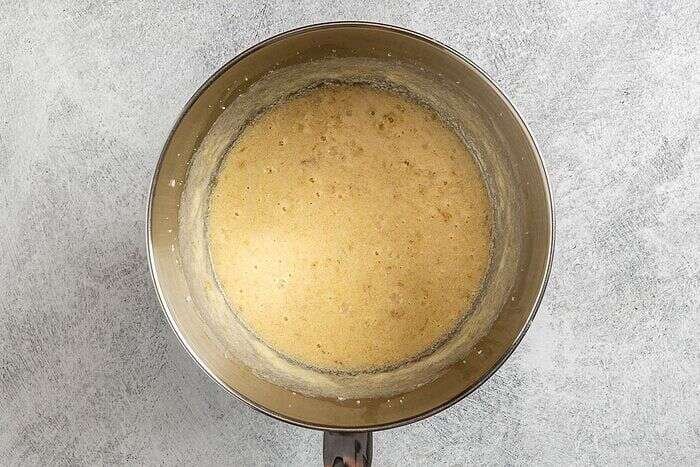
I preheat the oven to 350°F. In a large bowl, I cream the butter and sugar until light and fluffy, five to seven minutes. I add the eggs one at a time, mixing well after each one. Then I stir in the mashed bananas and vanilla until everything is smooth.
Step 2: Add the Dry Ingredients
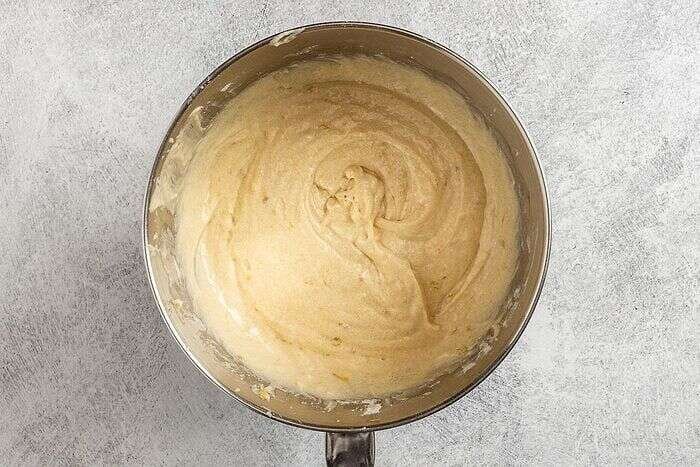
In another bowl, I whisk together the flour, baking soda, and salt. I gradually add the dry mixture to the wet ingredients, stirring gently just until blended.
My tip: I keep the mixing light at this stage. Once the flour is incorporated, I stop stirring so I do not develop too much gluten and make the bars dense.
Step 3: Bake the Banana Bars
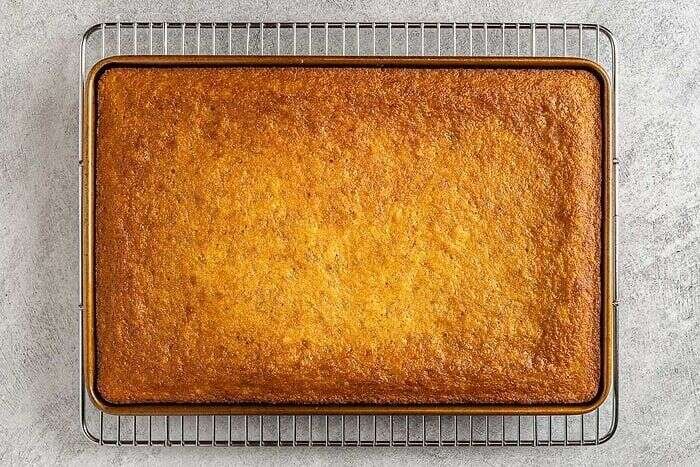
I transfer the batter to a greased 15x10x1-inch baking pan and smooth the top. I bake for 20 to 25 minutes or until a toothpick inserted into the center comes out clean. I let the bars cool completely in the pan on a wire rack before adding the frosting.
Step 4: Make the Cream Cheese Frosting
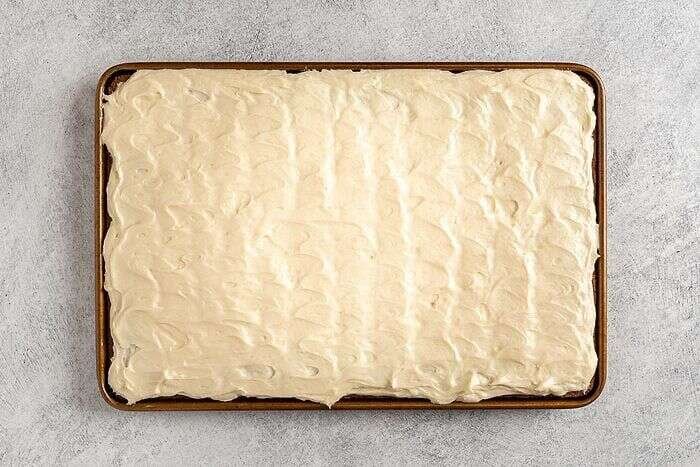
In a small bowl, I beat the cream cheese and butter until fluffy. I add the confectioners’ sugar and vanilla, then beat until smooth. I frost the cooled bars and spread the frosting evenly over the top.
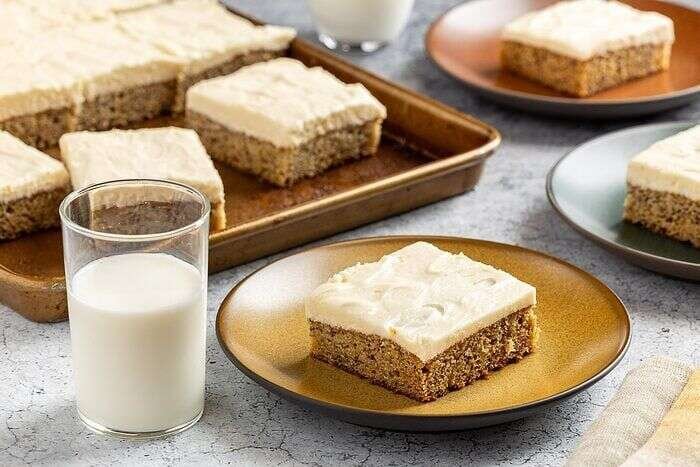
My Favorite Banana Bar Variations
- Add nuts: I can mix chopped walnuts or pecans into the batter when I want extra crunch and a classic banana-and-nut combination.
- Try a gluten-free version: I can use a 1-to-1 gluten-free flour blend in place of all-purpose flour when that fits my needs.
- Change the frosting: I can switch the cream cheese frosting for buttercream, chocolate ganache, or peanut butter frosting.
- Add a simple finish: I can leave the bars lightly frosted or dust the top with confectioners’ sugar when I want a simpler presentation.
How I Store Banana Bars
After the bars have cooled completely, I store them in an airtight container. If I stack them, I place parchment paper between the layers so the frosting does not stick. Because these bars have cream cheese frosting, I prefer to refrigerate them for longer storage.
How Long Do Banana Bars Last?
I can keep banana bars at room temperature in an airtight container for about two days, or in the refrigerator for up to five days. For longer storage, I freeze them for up to three months.
My Best Banana Bar Baking Tips
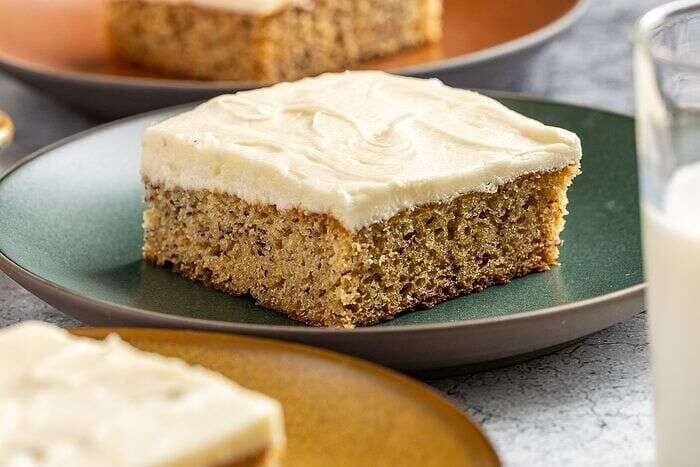
- I use ripe bananas with plenty of brown spots for the sweetest banana flavor.
- I bring the butter and eggs to the recommended temperatures so the batter mixes evenly.
- I cream the butter and sugar until light and fluffy because this helps build the right texture.
- I add the eggs one at a time and mix well after each addition.
- I avoid overmixing after adding the flour so my bars stay soft and tender.
- I let the bars cool completely before frosting so the cream cheese frosting does not soften too much.
- I check the center with a toothpick toward the end of baking to avoid overbaking.
How Do I Ripen Bananas Quickly?
When my bananas are not quite ripe enough, I place them in a paper bag, fold it closed, and check them after about a day. The enclosed environment helps trap ethylene, which supports ripening. I can also add an apple to the bag because apples release ethylene too. When I need a faster option, I can use an oven method to soften and ripen the bananas.
What Can I Use Instead of Cream Cheese Frosting?
When I want a different flavor, I can top these banana bars with caramel frosting, chocolate frosting, peanut butter frosting, buttercream, or chocolate ganache. I choose the topping based on the occasion and the flavors I am craving.
What Other Toppings Can I Add?
I like adding chopped pecans, walnuts, banana chips, or a light dusting of confectioners’ sugar. For a richer dessert, I can spread chocolate ganache over the bars after they cool.
How I Serve Banana Bars
I like serving these bars chilled or slightly cool so the cream cheese frosting stays neat. I cut them into small squares for parties, dessert trays, lunchbox treats, or casual family gatherings. When I want a little extra richness, I can serve a square alongside a cup of coffee or tea.
Banana Bars Recipe FAQs
Why are my banana bars dense?
I make sure I do not overmix the batter after adding the flour. I also check that my baking soda is fresh and that I cream the butter and sugar until light and fluffy before continuing with the recipe.
Can I use frozen bananas?
Yes. I can use frozen ripe bananas as long as I thaw them first and mash them before adding them to the batter. I drain away excess liquid if the thawed bananas release a lot of moisture.
How do I know when banana bars are done?
I check the center with a toothpick. When it comes out clean, I remove the pan from the oven and let the bars cool completely on a wire rack before frosting.
Can I freeze frosted banana bars?
Yes. I can freeze the bars in an airtight container, using parchment between layers if needed. I thaw them in the refrigerator and serve them once the frosting has softened to a pleasant texture.
Why should the bars cool before frosting?
I let the bars cool completely because warm cake can soften or melt the cream cheese frosting. Cooling also makes it easier for me to spread the frosting evenly and cut clean squares.
Nutrition Information
Estimated per serving, assuming 24 bars. Actual nutrition can vary depending on banana size, frosting amount, and ingredient brands.
| Nutrition | Amount |
|---|---|
| Calories | ≈ 250 kcal |
| Carbohydrates | ≈ 36 g |
| Protein | ≈ 3 g |
| Fat | ≈ 12 g |
| Fiber | ≈ 1 g |
| Sugar | ≈ 25 g |
| Sodium | ≈ 160 mg |
Finally, Conclusion
I keep coming back to these easy banana bars because they give me a simple way to turn ripe bananas into a soft, flavorful dessert. I love the tender banana base, the creamy tang of the cream cheese frosting, and the flexibility to add nuts or change the topping. Once I let the bars cool completely and frost them, they are ready to slice and share. For me, this is an easy homemade treat that works just as well for everyday cravings as it does for gatherings.

1 Comment
Pingback: Easy Orange Olive Oil Cake Recipe with Fresh Citrus