
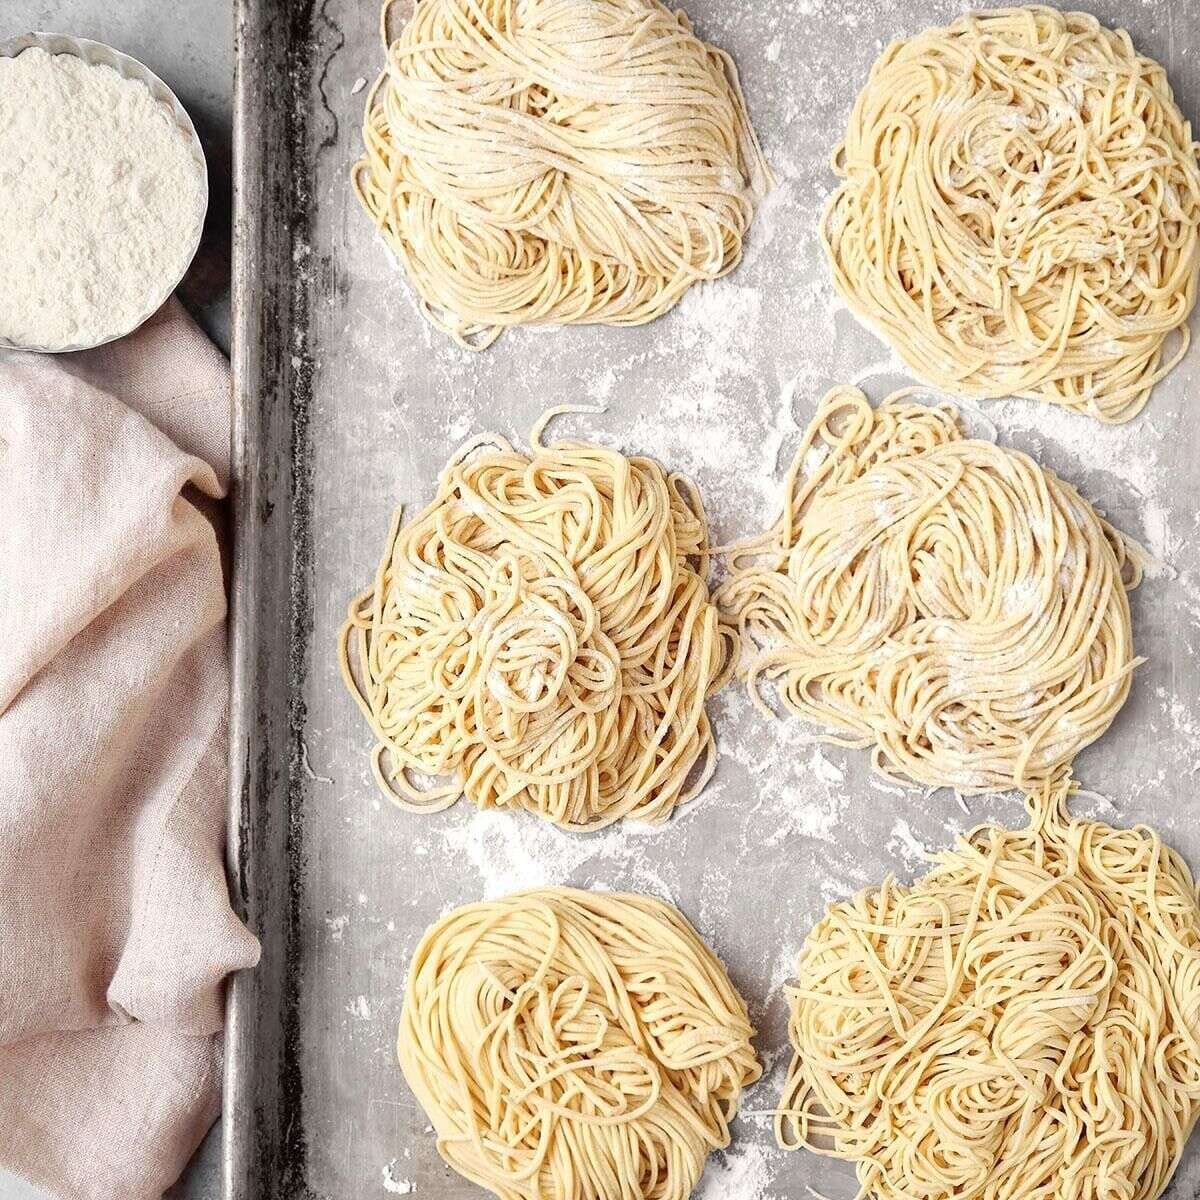
Homemade Ramen Noodles
I make these homemade ramen noodles when I want chewy, springy noodles that feel completely different from packaged ramen. They take some patience and a few useful tools, but I find the fresh texture worth the effort.
I first became interested in homemade ramen because even simple noodles can transform a bowl of soup. Once I learned how alkalized ramen dough works, I could make noodles with the springy bite I enjoy in a good ramen shop.
This recipe uses baked baking soda as an easy alternative to traditional kansui. I combine it with flour, water, and salt, then knead, rest, roll, and cut the dough into thin noodles that I can refrigerate or freeze for later.
How to Make Ramen Noodles at Home
Ramen noodles are alkalized, which gives them their characteristic flavor, color, and springy texture. Traditional ramen often uses kansui, also called lye water, but I use baked baking soda as a practical homemade alternative.
When baking soda is heated, it becomes more alkaline. I bake the baking soda first, then measure the amount needed for the dough. The remaining baked baking soda can be stored in an airtight container for another batch.
I find a pasta roller especially helpful because ramen dough is firm and difficult to roll evenly with a standard rolling pin. A stand mixer with a dough hook also saves considerable kneading effort, although I still finish the dough by hand.
Ingredients for Homemade Ramen Noodles
| Ingredient | Amount |
|---|---|
| Baking soda | 1/2 cup |
| Cold water | 1 cup, plus more as needed |
| Kosher salt | 1 teaspoon |
| All-purpose flour | 4 cups, plus more for dusting noodles |
I use ordinary baking soda for this recipe, then bake it to create the alkaline ingredient needed for the ramen dough. I use kosher salt because its larger crystals measure differently from fine table salt; if I substitute fine salt, I use 1/2 teaspoon instead of the full teaspoon.
All-purpose flour gives me reliable homemade noodles and is easy to find. If I want an even chewier result, I can use bread flour as a substitute.
Directions
Step 1: Bake the baking soda
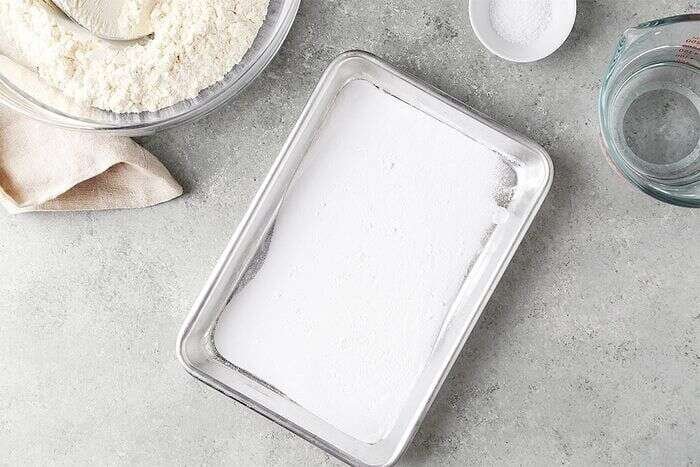
I preheat the oven to 275°F. I spread the baking soda in a thin layer on a baking sheet and bake it for 1 hour and 30 minutes. I let it cool, measure out 1 tablespoon for this recipe, and store the remainder in an airtight container for future use.
My safety tip: Baked baking soda is more caustic than regular baking soda and can irritate skin. I keep it clearly labeled and away from children.
Step 2: Mix and knead the dough
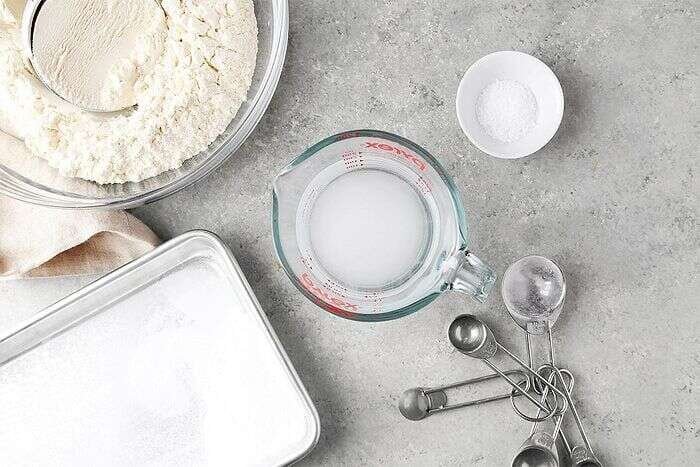
I measure 1 cup of cold water and stir in the 1 tablespoon of baked baking soda and the salt until dissolved. I place 4 cups of flour in a stand mixer fitted with a dough hook.
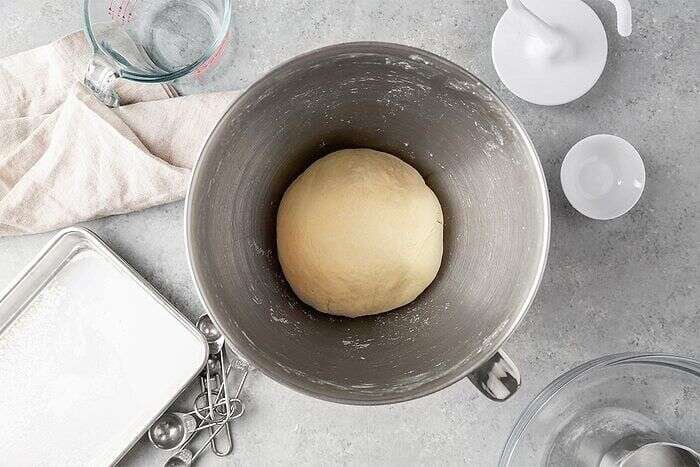
I turn the mixer to low and slowly add the water mixture. I increase the speed to medium and mix for three minutes, or until the dough becomes shaggy. If the dough is very dry at the bottom, I add additional water a little at a time.
I let the machine knead the dough for three more minutes. Then I remove it from the bowl and knead it by hand until it comes together into a ball.
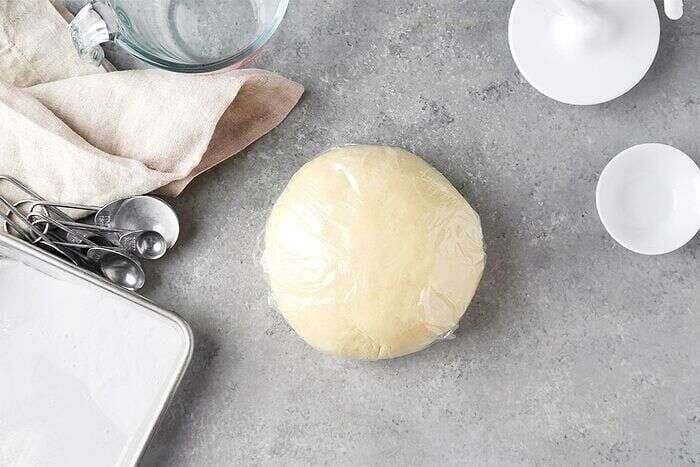
I cover the dough in plastic wrap and let it rest at room temperature for 30 minutes. I find that this rest makes the dough easier to handle during rolling.
My tip: Flour can be drier when humidity is low, so the dough may sometimes need a little additional water. I add it gradually rather than making the dough too wet.
Step 3: Begin rolling out the dough
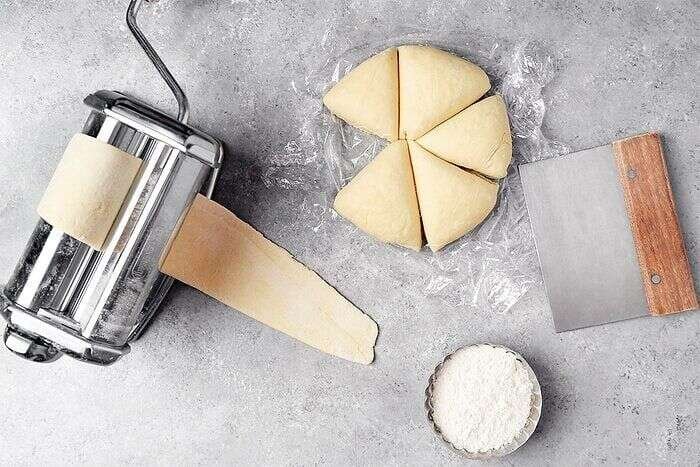
I set up my pasta roller, either as a standalone machine or a stand-mixer attachment. I cut the dough into six equal pieces and set the roller to its widest setting.
I flatten the first piece into a disk with my palm, making sure the leading edge is thin enough to enter the rollers. I run the dough through, fold the sheet in half lengthwise, and run it through again with the dough facing the same direction on the same setting.
Step 4: Make the dough even thinner
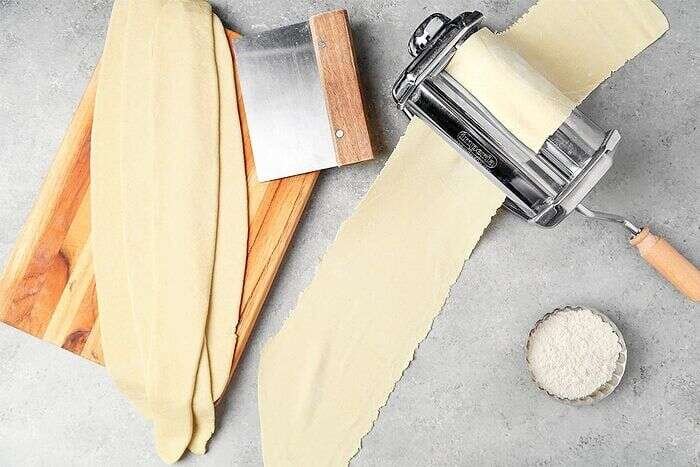
I adjust the pasta roller down one notch and run the dough through again. If the pieces feel sticky, I dust both sides lightly with flour. I continue through smaller settings until the dough reaches the lowest setting, repeating the process with the remaining five pieces.
My thickness tip: I aim for dough that is around 1/16-inch thick before cutting it into noodles.
Step 5: Cut the ramen noodles
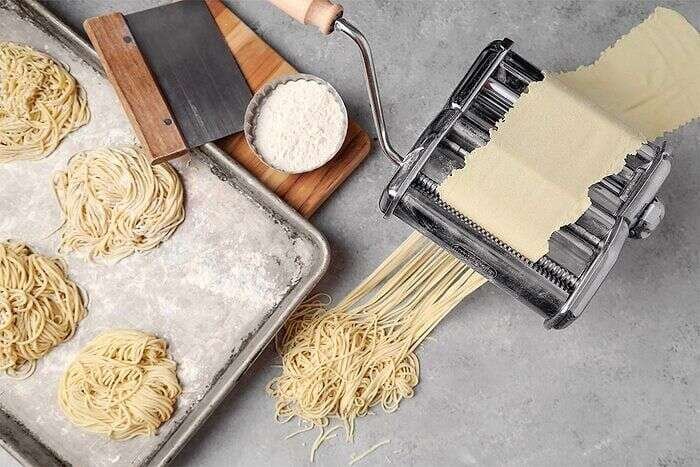
I lightly flour my work surface and keep a floured sheet pan nearby. Using the angel hair or spaghetti cutter, I feed each dough sheet through the machine and gently catch the noodles as they come out.
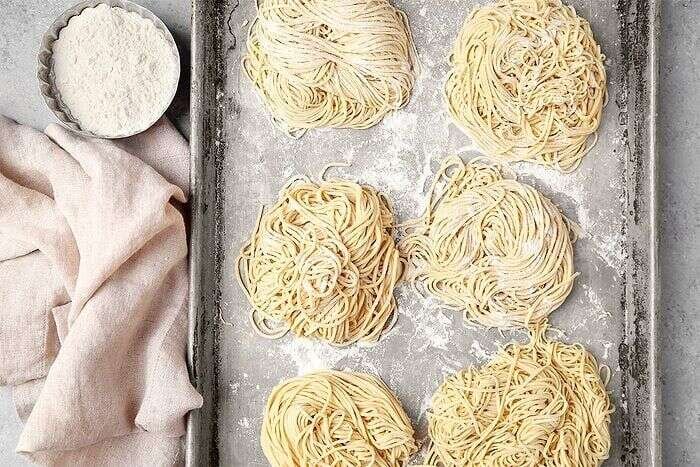
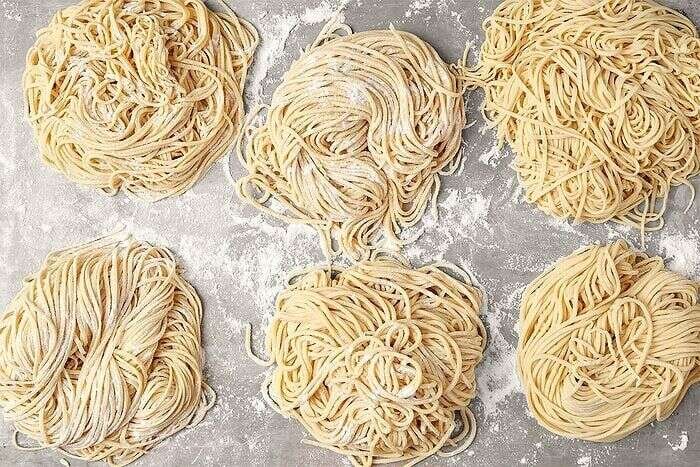
I toss the cut noodles lightly through flour so they do not stick, then curl each portion into a loose nest. I repeat with the remaining dough and refrigerate or freeze the noodles until I am ready to use them.
My anti-sticking tip: Cornstarch can also help keep fresh noodles from clumping. I can use it alone or mix it with flour for dusting.
What to Add to Ramen Noodles
I can use these noodles with almost any ramen broth, including miso, soy-based, salt-based, chicken, mushroom, or other homemade broths. I like adding sliced green onions, soft-boiled eggs, mushrooms, corn, leafy greens, or cooked meat depending on the bowl I am making.
When I do not have time to make a broth from scratch, these fresh noodles can still make a simple packaged ramen bowl feel more special. I can also use them in noodle dishes without broth when I want something different.
Homemade Ramen Noodles Variations
- Change the size: I can cut the dough into wider noodles with a linguine or fettuccine cutter. For thicker noodles, I can stop rolling before reaching the lowest setting.
- Skip the soda: I can make noodles without baked baking soda, but the finished flavor, texture, and springiness will be different.
- Add natural color: I can tint the dough with small amounts of beet powder, turmeric, or spinach puree for a colorful variation.
How to Store Homemade Ramen Noodles
I store well-floured ramen noodles in a rigid, tightly sealed container in the refrigerator. I make sure the noodles are properly dusted before storing because moisture can cause them to stick together. Refrigerated fresh ramen noodles can last up to four days.
Can you freeze homemade ramen noodles?
Yes. I freeze well-floured ramen nests on parchment in a rigid airtight container, placing another sheet of parchment between layers when needed. I can freeze the noodles for up to three months and use them when I am ready to make ramen.
Homemade Ramen Noodles Tips
How do you keep homemade ramen noodles from clumping?
I dust the noodles well with flour, cornstarch, or a mixture of both before forming them into nests. I also avoid packing warm, damp noodles tightly together because moisture encourages sticking.
What kinds of broth should you use to make ramen?
I can use pork, chicken, mushroom, miso, soy-based, or salt-based broths. I also enjoy vegetable and vegan broths when I want a lighter or plant-based bowl. The noodles are flexible enough to pair with many different soup styles.
For more homemade comfort-food ideas, I also enjoy my easy cream of broccoli soup and my creamy white cheddar mac and cheese. They are useful options when I want something warm and satisfying alongside homemade noodles.
Frequently Asked Questions
Can I make ramen noodles without a pasta machine?
I can roll the dough by hand, but ramen dough is quite firm, so a pasta roller makes it much easier to reach an even thickness. If I use a rolling pin, I work patiently and aim for a very thin, consistent sheet.
Why do homemade ramen noodles use baking soda?
I use baked baking soda because it makes the dough more alkaline. That alkaline quality helps give ramen noodles their characteristic springy texture and flavor.
Can I use bread flour instead of all-purpose flour?
Yes. I can replace the all-purpose flour with bread flour when I want a chewier noodle. Bread flour has more gluten-forming protein, which can produce a firmer, springier texture.
How long do homemade ramen noodles last?
I refrigerate properly floured fresh noodles for up to four days. For longer storage, I freeze the noodle nests in an airtight container for up to three months.
Nutrition Information
Estimated nutrition per serving, assuming eight servings from the dough. Actual values vary with flour, portion size, and how much flour is used for dusting.
| Nutrition | Amount |
|---|---|
| Calories | 230 kcal |
| Carbohydrates | 47 g |
| Protein | 7 g |
| Fat | 1 g |
| Fiber | 2 g |
| Sugar | 1 g |
| Sodium | 300 mg |
Finally, Conclusion
I enjoy making these homemade ramen noodles because the process gives me fresh, chewy noodles that I can pair with almost any broth. Once I have the dough technique down, I can prepare batches ahead and keep them ready for future ramen bowls.
