
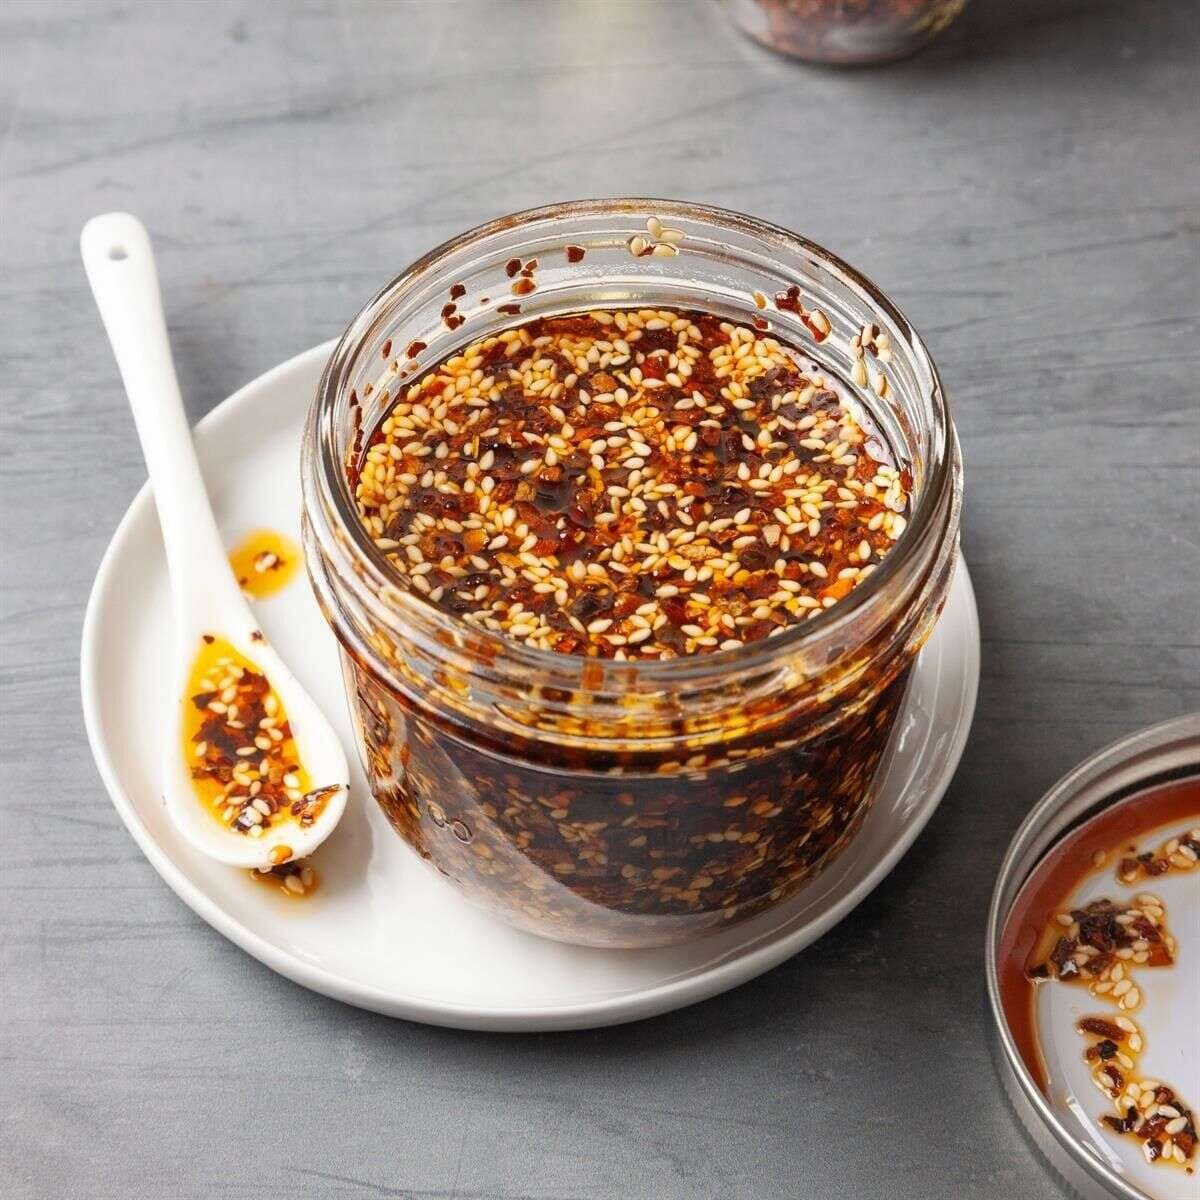
Easy Homemade Chili Crisp Recipe
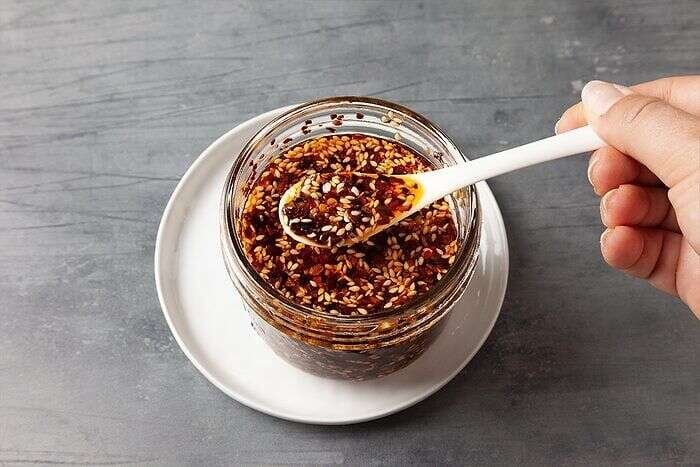
I love having a jar of homemade chili crisp in my refrigerator because a small spoonful can completely change an everyday meal. I get crunchy bits, fragrant spices, gentle sweetness, and a satisfying chili heat in every bite. This version is especially convenient because I use simple pantry ingredients rather than hard-to-find seasonings.
When I first started making chili crisp at home, I wanted something that was spicy without being only about heat. I also wanted plenty of texture. The combination of dried onion, garlic, sesame seeds, and crushed red pepper gives me that balance, while the oil carries all those flavors into a spoonable condiment.
I find this homemade chili crisp easy to customize after I make the basic batch. I can use it as a topping for dumplings, eggs, noodles, vegetables, sandwiches, pizza, or rice, and I can adjust the way I serve it depending on the meal. The recipe itself stays simple, so I can make a fresh batch whenever my jar gets low.
Why I Love This Homemade Chili Crisp
What I enjoy most is the contrast between the crisp ingredients and the flavorful oil. I use a neutral oil so the seasonings remain the focus, and I build the flavor gradually with low, steady heat. That approach gives the dried ingredients time to toast and infuse the oil without rushing them.
I also like that I can keep the texture fairly thick. If I want a looser chili crisp, I can add a little more oil when serving. For me, the best part is having a versatile condiment ready to add savory, spicy, crunchy flavor to food that might otherwise feel ordinary.
Homemade Chili Crisp Ingredients
| Ingredient | Amount |
|---|---|
| Canola oil | 2/3 cup |
| Crushed red pepper flakes | 1/4 cup |
| Dried minced onion | 3 tablespoons |
| Sesame seeds | 2 tablespoons |
| Dried minced garlic | 1 tablespoon |
| Sugar | 1-1/2 teaspoons |
| Salt | 1 teaspoon |
| Coarsely ground pepper | 1/2 teaspoon |
How I Choose the Ingredients
I use canola oil because its neutral flavor lets the chili and toasted ingredients stand out. I prefer a fresh jar of crushed red pepper flakes for better color and flavor. Dried minced onion gives me plenty of crunch, while sesame seeds add a nutty note and another layer of texture.
I add dried minced garlic later because it cooks faster than the onion. Sugar balances the heat, salt brings the flavors together, and coarsely ground pepper adds an earthy bite. When I use pepper, I prefer freshly ground or crushed peppercorns instead of older preground pepper.
How I Make Homemade Chili Crisp
Step 1: Combine the oil and some of the ingredients
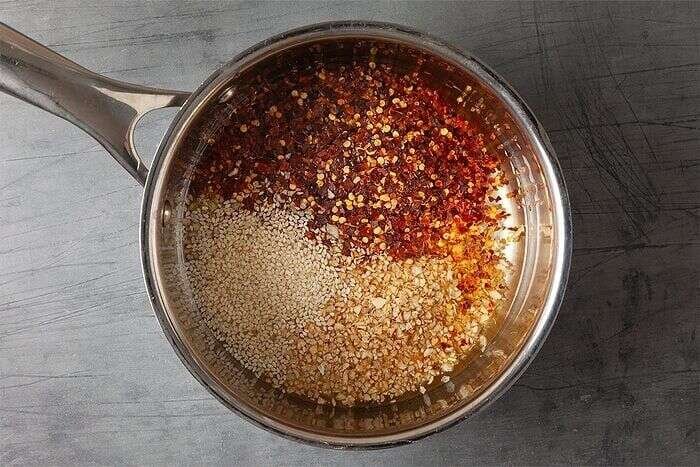
I heat the oil, red pepper flakes, onion and sesame seeds in a small saucepan over medium-low heat.
My tip: I stir everything together before turning on the heat so the ingredients toast evenly from the beginning.
Step 2: Cook the mixture slowly
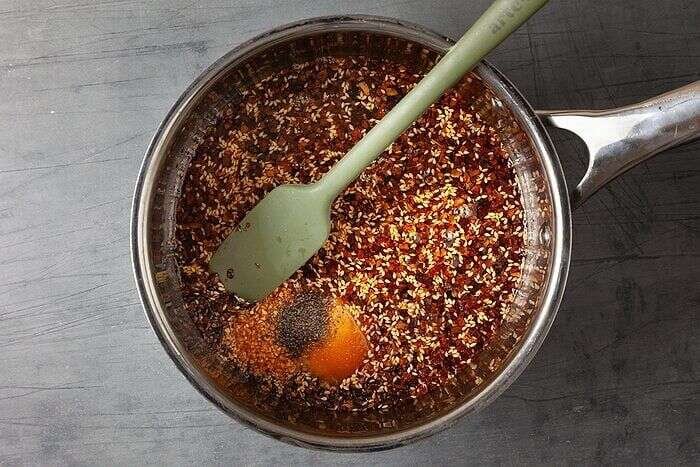
I cook, stirring occasionally, until the mixture starts to sizzle, bubble and turn orangish-red in color, four to five minutes.
My tip: I keep the heat moderate and let the oil slowly warm the ingredients. This gives the flavors time to bloom without burning the crisp ingredients.
Step 3: Add the remaining ingredients
I add the garlic, sugar, salt and pepper. I continue to cook, stirring frequently, until the sugar is suspended and the garlic is fragrant, about one minute.
Step 4: Remove from the heat
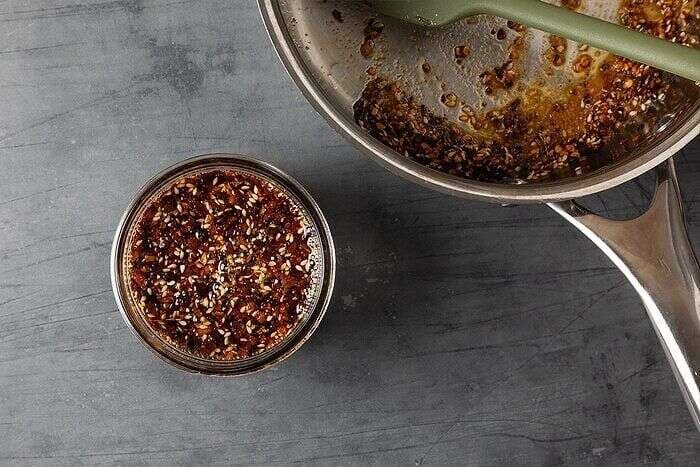
I remove the pot from the heat. I cool the chili crisp slightly, stirring occasionally until it stops bubbling. I carefully pour it into a heatproof container.
My tip: I use a heatproof glass food storage container or measuring cup so the hot chili crisp can cool safely without continuing to cook in the saucepan.
Step 5: Cool and store the chili crisp
I cool the chili crisp to room temperature. I can serve it warm, or I cover and refrigerate it until it is chilled. I stir it well before using it.
My tip: I often prefer it after it has chilled because the flavors deepen and the crisp ingredients become more pronounced. When I have time, I make it several hours ahead so it is ready when I need it.
My Homemade Chili Crisp Variations
- Less heat: I reduce the chili flakes by 1 to 2 tablespoons and replace that amount with more dried onion or sesame seeds.
- Extra crunch: I can add dry-roasted edamame or peanuts just before removing the chili crisp from the heat, making sure there is enough oil to cover them.
- More sesame flavor: I drizzle a few teaspoons of toasted sesame oil into the chili crisp after it has stopped boiling.
- More sweetness: I add another 1/2 to 1 teaspoon of sugar and stir it thoroughly while the chili crisp cools.
- Dried chiles: I can replace some or all of the chili flakes with stemmed, chopped dried chiles for a different flavor and heat level.
- Extra aromatics: I can add a star anise pod or cinnamon stick with the chili flakes for a deeper, aromatic note.
How I Store Homemade Chili Crisp
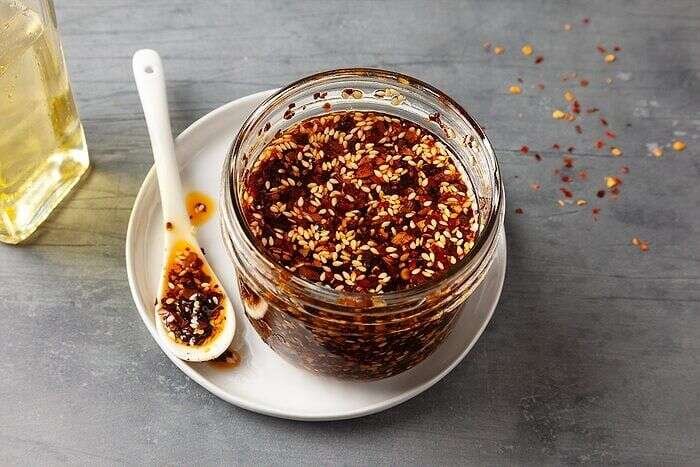
I store homemade chili crisp in an airtight food storage container in the refrigerator. I prefer glass because the red oil can stain plastic and leave behind a strong aroma. If the oil firms up in the refrigerator, I let it stand at room temperature for a few minutes and stir it well before using.
How long does homemade chili crisp last?
I keep this homemade chili crisp refrigerated and use it within about two weeks. I always use a clean spoon when serving it so I do not introduce food particles or bacteria into the container.
Can I freeze homemade chili crisp?
I can freeze chili crisp for about two to three months. I let it cool completely, transfer it to a freezer-safe container or bag, remove excess air, and freeze it in practical portions. I thaw it overnight in the refrigerator and stir it well before using.
My Best Tips for Chili Crisp
- I keep the heat at medium-low so the dried ingredients toast rather than burn.
- I stir the mixture regularly once the garlic, sugar, salt, and pepper are added.
- I use a heatproof container for the hot finished chili crisp.
- I let the chili crisp cool before sealing and refrigerating it.
- I use a clean, dry spoon every time I take some from the jar.
- I taste the finished condiment with the meal I am serving because the perceived heat can vary from one batch of chili flakes to another.
What I Serve with Homemade Chili Crisp
I reach for chili crisp whenever I want to add quick flavor and texture. I especially like it with dumplings, fried eggs, noodles, rice, roasted vegetables, pizza, sandwiches, and chicken. I also stir a little into salad dressings or mayonnaise when I want a creamy, spicy spread.
For a simple meal, I can spoon it over an omelet or mix a little into a bowl of noodles. I also enjoy using it as a finishing condiment rather than cooking it for a long time, which helps preserve its crunchy texture.
Can I cook with chili crisp?
Yes. I use chili crisp in quick-cooking or moderate-heat recipes, such as fried eggs or quickly wilted vegetables. For very high-heat searing or broiling, I prefer plain cooking oil because the sugar and toasted ingredients in chili crisp can darken or become bitter.
Can I use fresh onion and garlic instead of dried?
I prefer the dried ingredients in this recipe because they are quicker to crisp and easier to manage. Fresh onion and garlic contain more moisture, so getting them thoroughly crisp without burning them takes more time and attention. For this particular recipe, dried ingredients also give me the crunchy texture I want.
Frequently Asked Questions
Is homemade chili crisp very spicy?
I find the heat depends largely on the particular crushed red pepper flakes I use. The recipe has a noticeable kick, but I can make the finished condiment milder by using the variation above to reduce the chili flakes.
Why do I cook the chili crisp over medium-low heat?
I use medium-low heat because I want the dried onion, sesame seeds, and chili flakes to toast gradually. Cooking too aggressively can darken the ingredients before their flavors have properly infused the oil.
Should I refrigerate homemade chili crisp?
Yes. I refrigerate this homemade chili crisp in an airtight container and use it within about two weeks. I also use a clean spoon each time I serve it.
What is the best way to use chili crisp?
I like it as a finishing condiment for dumplings, eggs, noodles, rice, vegetables, pizza, sandwiches, and chicken. I can also stir it into sauces, dressings, or mayonnaise for extra heat and crunch.
Nutrition Information
Estimated nutrition per 1 tablespoon serving. Actual values can vary depending on the amount of oil and crisp ingredients served.
| Nutrition | Amount |
|---|---|
| Calories | 105 kcal |
| Carbohydrates | 2 g |
| Protein | 1 g |
| Fat | 11 g |
| Fiber | 1 g |
| Sugar | 1 g |
| Sodium | 290 mg |
Finally, Conclusion
I keep coming back to this homemade chili crisp because it gives me a lot of flavor from a short ingredient list. I can make it ahead, keep it refrigerated, and use a spoonful whenever a meal needs extra heat and crunch. Once I have a jar ready, it becomes one of those simple homemade condiments I find myself reaching for again and again.
